Marketing
The first thing we need to consider is which type of email template you need to use, CreataCRM has 2 type of templates,
- Code
- Designer
Create a New Email Template
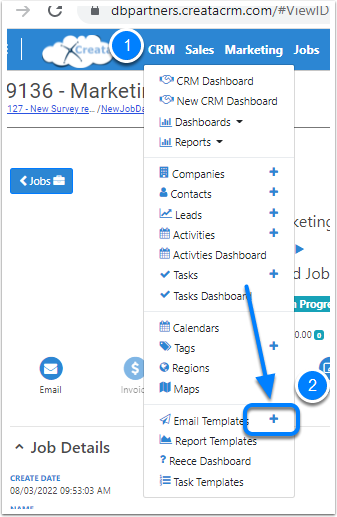
- Click on the CRM Drop Down Menu
- Click on the Plus button
Email Tempplate
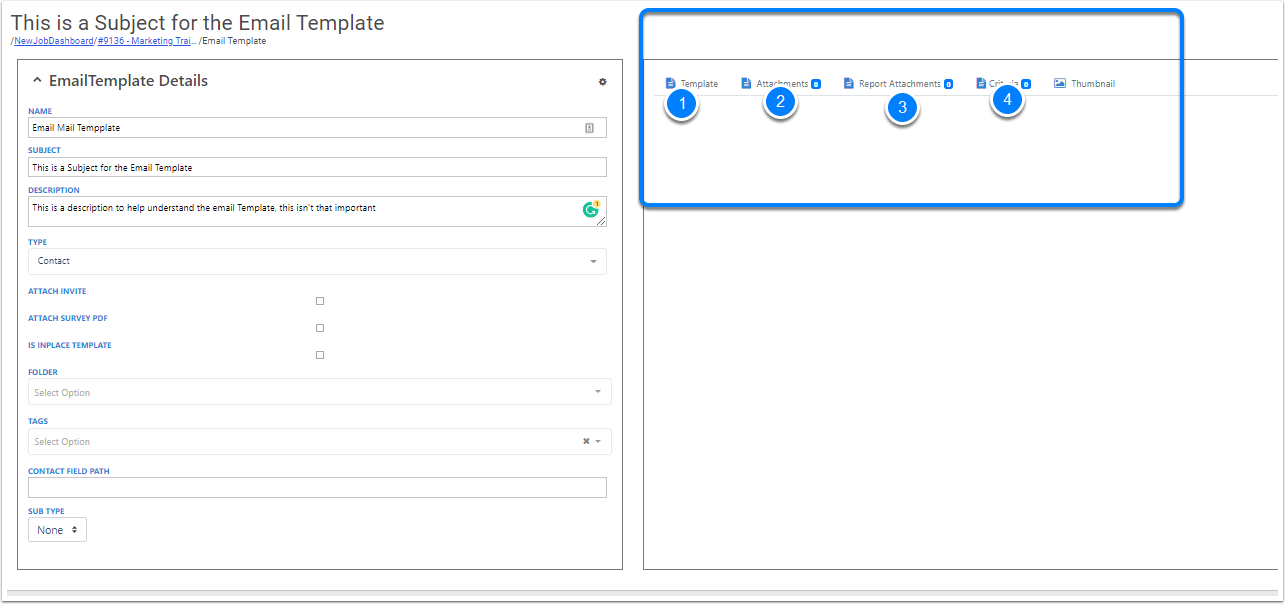
- This is the Name of the Template that will; display as the file name expierence with choosing the email template
- This is the Subject of the email template that will display for the client
- This is the target type, it will default to Contacts, but you can target a type like invoice etc
- Save and View the Email Template
- Inplace Template - This will display for Contact Mail Merge if you would like users to individually send

Other
- Template - the email
- Attachments - > Please note no more than 10 mb per template is ideal
- Report Attachment for advance use
- Critieria : Advance use
Code vs Designer
Code
In this Example we will take about the code editor, as its widely used, please goto this link for Designerlink for Designer
We will be using Tables to group your email together, This gives you basic controls over the email. But most user use this because its simple

Code editor
This is a blank canvas, and most users use the Table format to group things together. However to get exact experience you may need to turn on HTML to get the right design
- Editor vs HTML editor
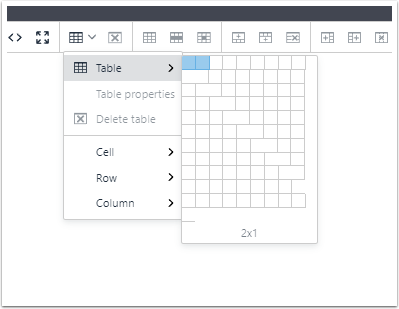
- Insert Tables
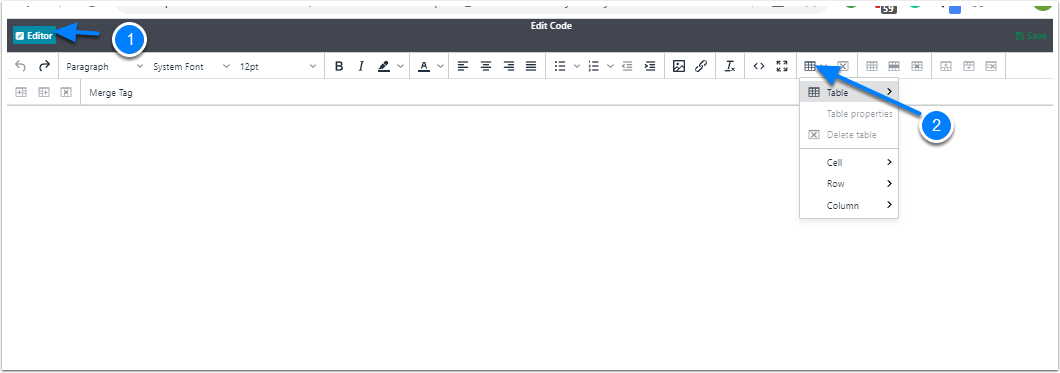
We are choosing to Columns for this example
This means you can have 2 columns, The less columns the easy its going to be
Make the Column Smaller
By Default, the row spans to be large as the screen, to reduce the row size, click on the right column corner and hold the mouse button down, and drag it to the right to reduce the column size,

Below display the 2 columns
Reduce column size

Center Column
- Right click on the Column
- Click on Table Properties
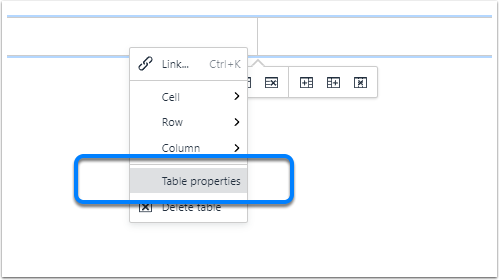
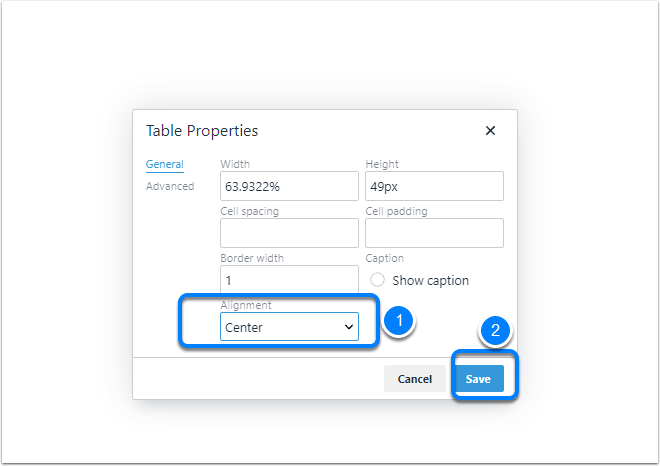
Table Alignment
- Make the Table Alignment Center
- Click on Save
Add Merge Tags
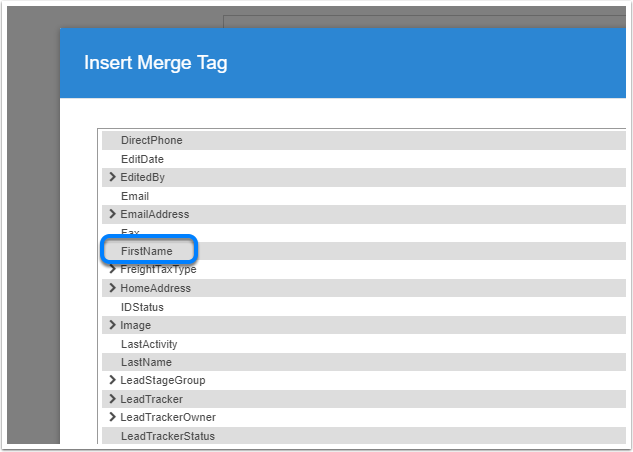
If you are looking to Mail Merge, click pm the Merge Tag

Choose Field
Select the field you would like to choose and then click on mail merge
Choose Image
The easy option is to copy and paste the field from Snipit tool for windows, select the image
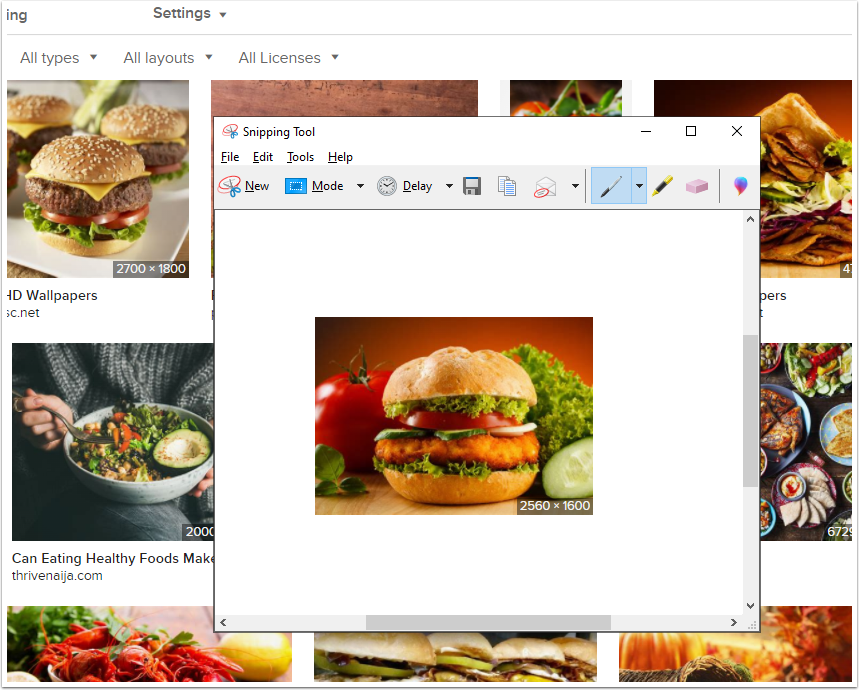
Paste
Control V the Image and it will upload

Choose Image from library
- Click on the Library Field
- Click on Upload Image icon
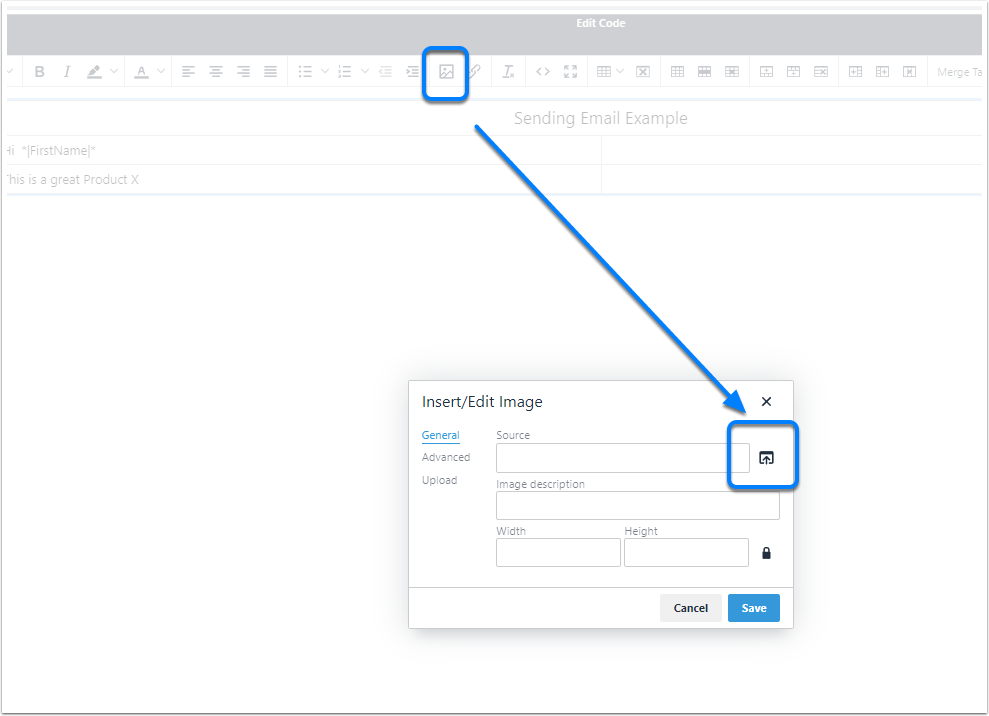
Library Manage

Save and then close

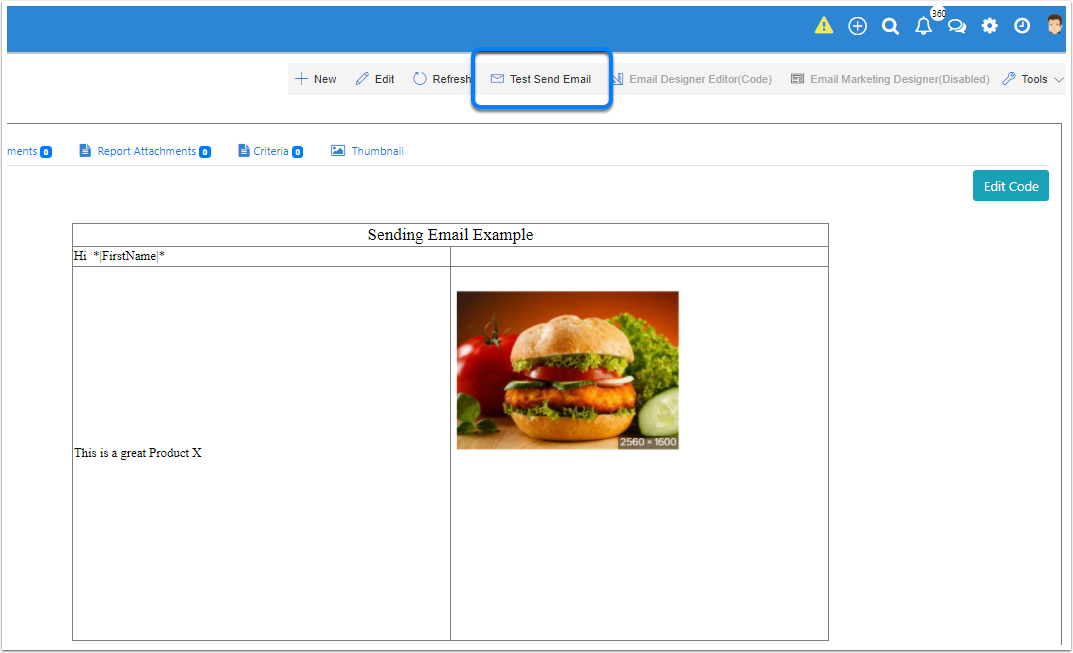
Test Send
Do a Test Send
